
Below are instructions for:
- Permissions
- Adding a Finding Aid
- Replacing an existing Finding Aid
- Deleting a Finding Aid
- Delete Multiple Finding Aids
Download finding aids management guide (pdf).
Setting Permissions
If you are a TARO Admin, then you will see the entire list of repositories when adding a Repository to a Finding Aid. If you are a content manager, then you will only see the repository that your account is associated with. Depending on your permission level, the left hand nav bar and site verbiage may differ from the images in this documentation.
Actions present in this documentation assume that you are logged into your TARO account.
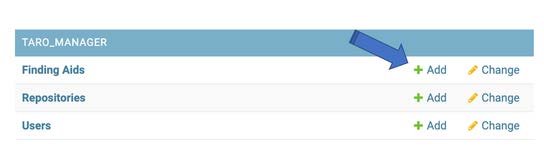
Adding a Finding Aid
- Navigate to https://txarchives.org/admin/taro_manager/findingaid/add/ or select “Add” next to Finding Aids.
Add Finding Aid
- Click “Choose Files” to add one or more xml files from your computer. Note that a batch is truly treated as a batch and not as individual Finding Aids. Individual file issues will prevent successful uploading of a batch.

Choose Files
- Select your repository and click “SAVE.”
- Upon upload, the finding aid will first be checked for EAD validation. If it fails, you will get the error message below and must fix it before proceeding.

Validation Screen
- When the finding aid passes EAD validation, it is next checked for required fields. If it fails the compliance check, you will get the error message(s) below and must fix it before proceeding.
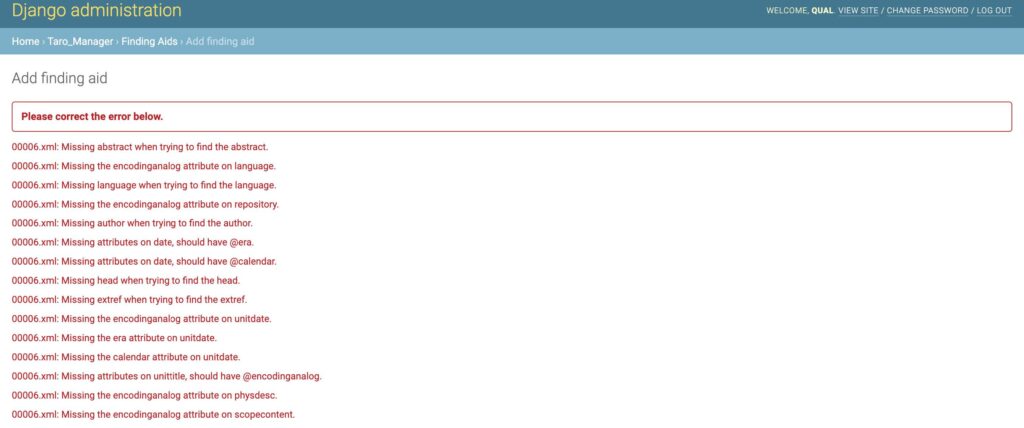
Error Messages
- When the finding aid passes the compliance check, it is last checked for recommended fields. Since these fields are recommendations, you will see a warning with a list of missing fields. You must reselect file(s), check “Override warnings,” and click SAVE to override the warning.
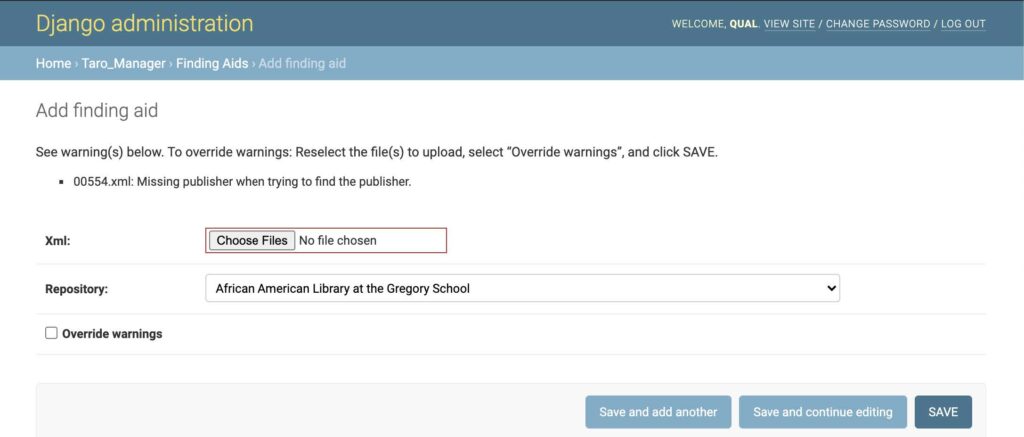
Override Warnings
- When the finding aid passes the compliance check, you will receive a success message and can repeat the process as needed.
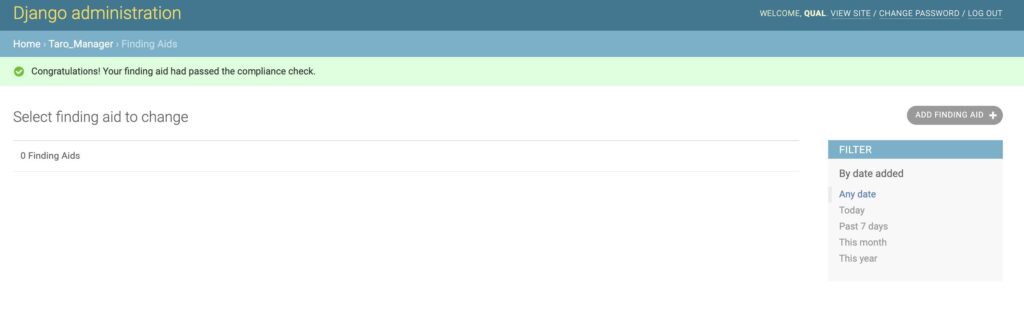
Passed Compliance Check
Replacing an existing Finding Aid
- Navigate to https://txarchives.org/admin/taro_manager/findingaid/ or select “Finding Aids” on the left nav bar or on the main page (https://t xarchives.org/admin/).
- Select the Finding Aid to edit.
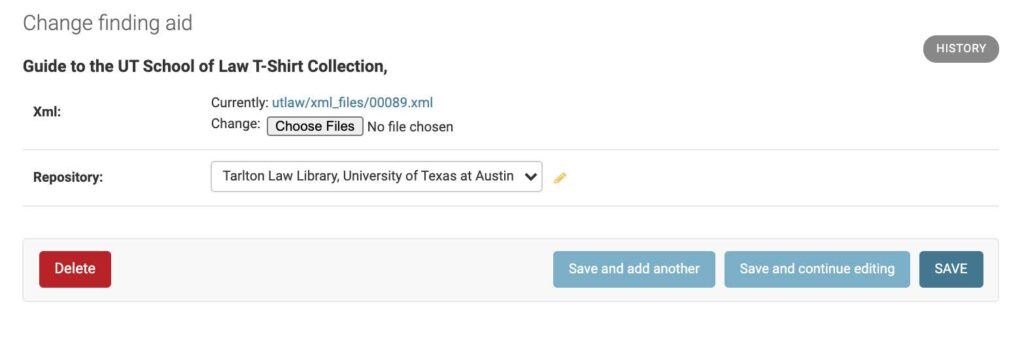
- There are two options on the Change Finding Aid form: XML file or Repository.
- To update the finding aid, select “Choose Files” and select from your computer which file you want to replace the current XML file. Note: You can view the current XML in the browser by clicking the filename after “Currently”.
Change Finding Aid
- To update the repository, select the new repository from the drop down. Note: You will only have access to the repositories that your account is associated with.
- Make your update(s) and select “Save”.
Deleting a Finding Aid
- Navigate to https://txarchives.org/admin/taro_manager/findingaid/ or select “Finding Aids” on the left nav bar or on the main page (https://t xarchives.org/admin/).
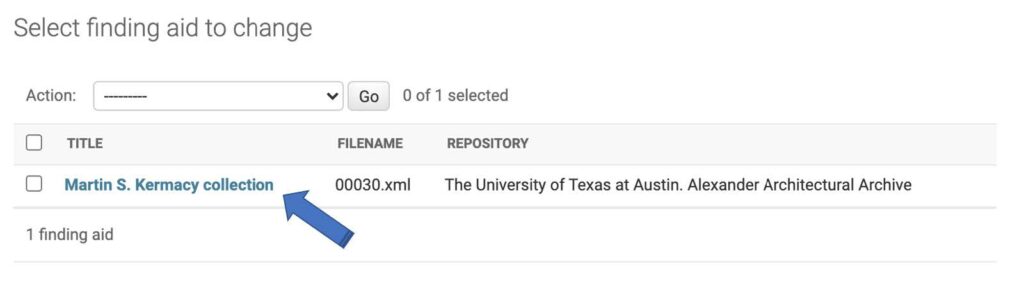
- Select the Finding Aid(s) that you want to delete by select the checkbox to the left of the filename.
Select File
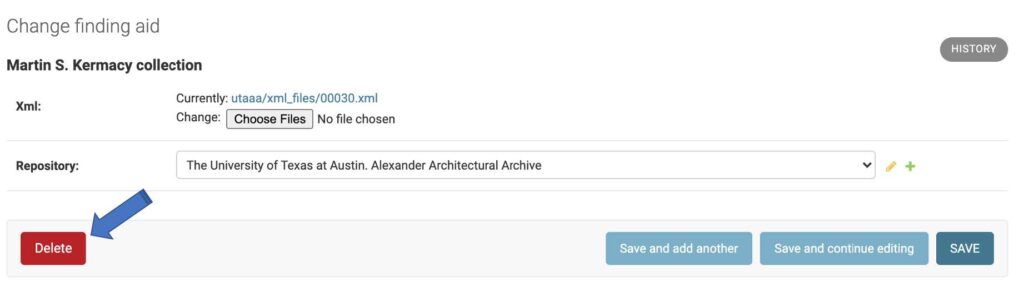
- Select the Finding Aid that you want to delete and select the “Delete” button on the bottom left.
Delete Finding Aid
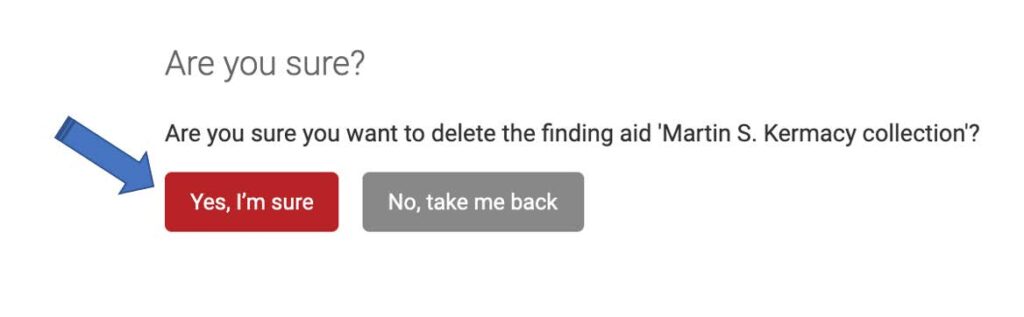
- You will then be taken to a confirmation prompt. If information looks correct, select “Yes, I’m sure” to confirm.
Are You Sure
- No confirmation message will appear but the Finding Aid should not show up in the your list anymore.
Delete Multiple Finding Aids
- Navigate to your list of Finding Aids or go to https://txarchives.org/admin/taro_manager/findingaid/.
-

Multiple Files
Select the Finding Aids that you want to delete by checking the boxes.
- When you are done select all the Finding Aids that you want to delete, select the “Delete selected Finding Aids” from the Action dropdown and hit Go.

Delete Selected Files
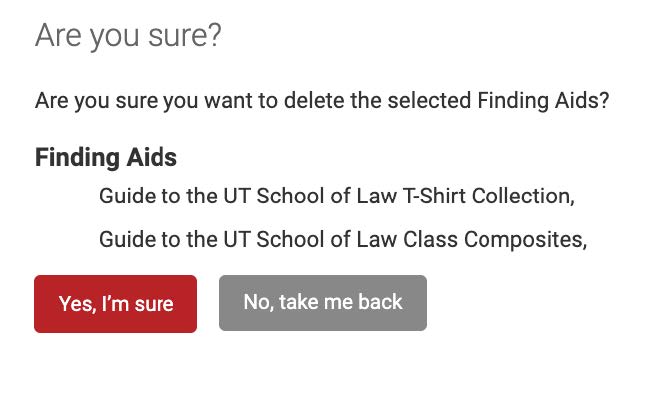
- You will then be taken to a confirmation prompt with the list of Finding Aid titles. If information looks correct, select “Yes, I’m sure” to confirm.
Confirm Action
- No confirmation message will appear but the Finding Aid should not show up in the your list anymore.