This is the first in a two-part series on NIC Teaming in Windows Server 2012. Part 1 focuses on the GUI method (using Server Manager.) Part 2 will focus on using PowerShell.
Depending on its configuration, NIC Teaming provides the following benefits
- bandwidth aggregation – If you team 2- 1 GB NICs, you have the capability to double your network throughput.
- resisiliancy to a dropped network connection – Our data centre has duplicate network infrastructure that connects to all servers: an A network and a B network. When network maintenance needs to be performed (firmware updates on switches, etc.) it is done on each network separately: when maintenanice is performed on the A side, the B side stays online. Each server has a Team that consists of a NIC on the A network and a NIC on the B network.
In older Windows operating systems in order to create a NIC team you had to use software provided by the NIC vendor. Server 2012 brings this functionality into the OS. With NIC Teaming functionality now built into Windows, the process is much simpler, consistent (does not matter what vendor has manufactured the NICs), and is supported by Microsoft (since Teaming using vendor software is not supported by Microsoft, PSS would often request a Team be broken to verify the Team is not causing any issues.)
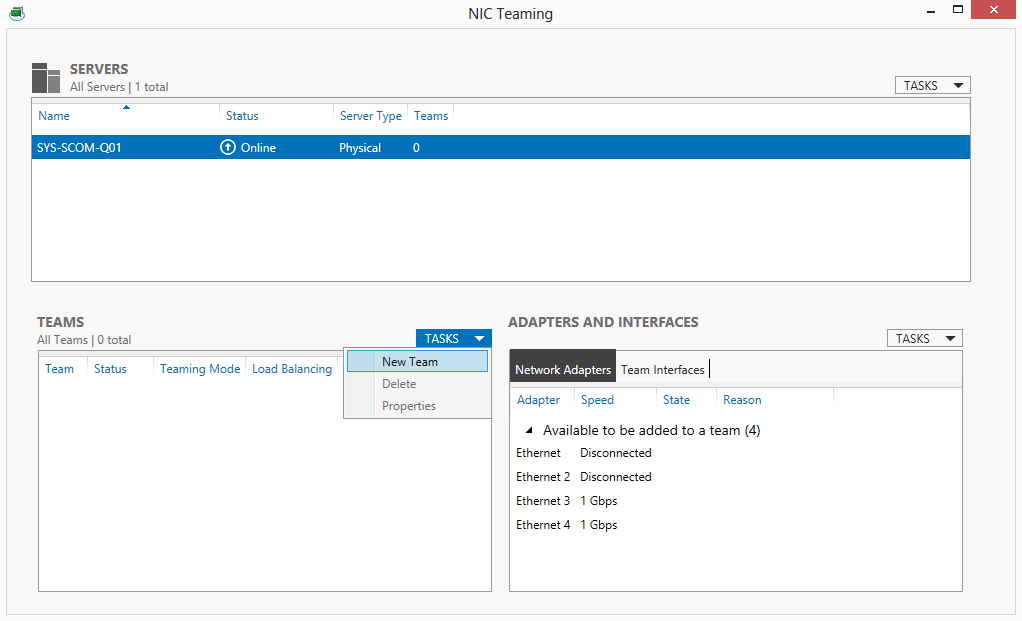
Creating a NIC Team Using Server Manager
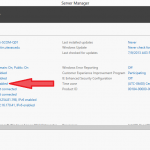
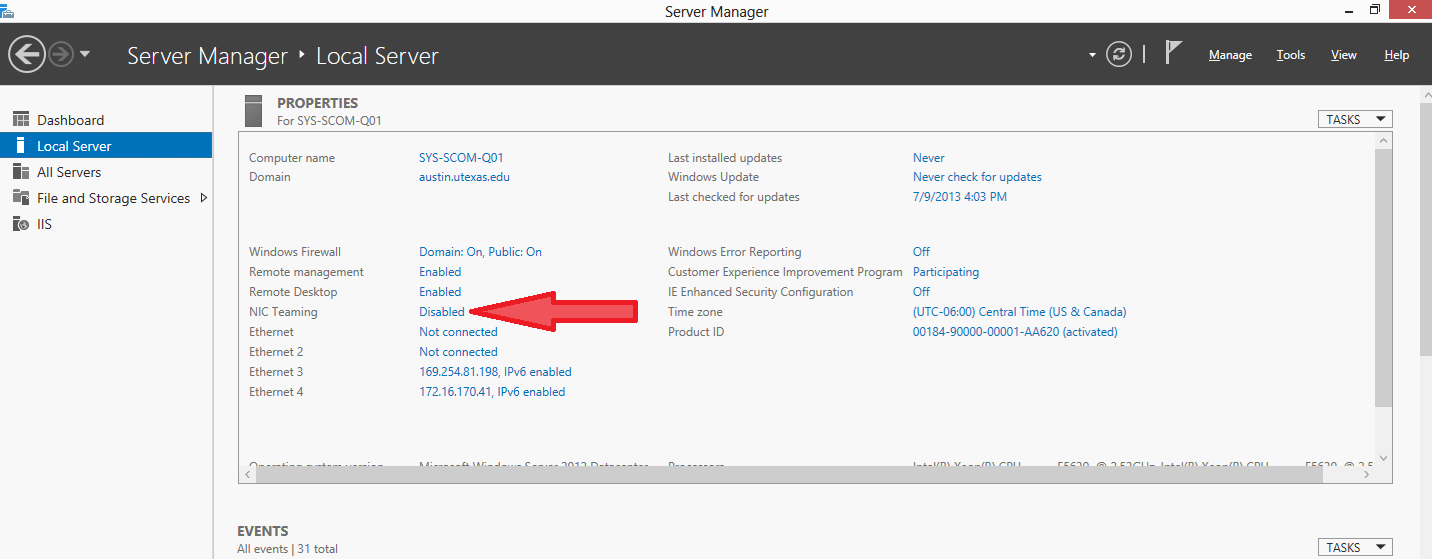
- Launch Server Manager.
- Select Local Server.
(You can actually configure a NIC Team on one – or more – remote servers by selecting All Servers and then adding servers to the console.) - Click on the (Disabled or Enabled) link next to NIC Teaming.
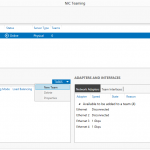
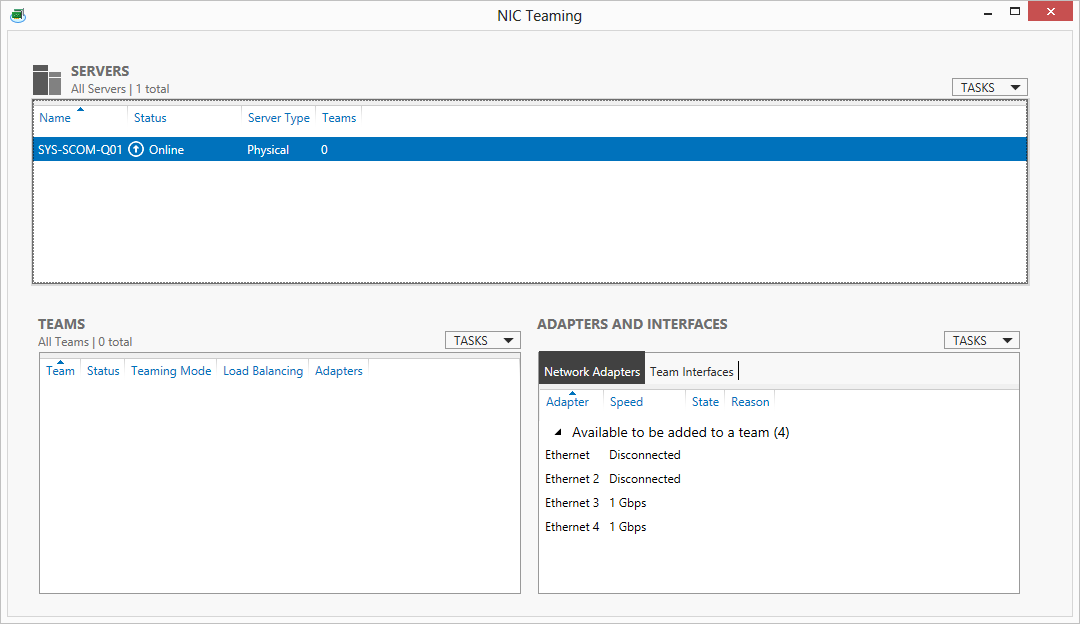
- The NIC Teaming window will appear.
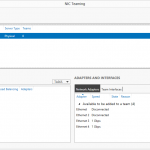
- At the top right of the Teams pane, select New Team from the Tasks menu.
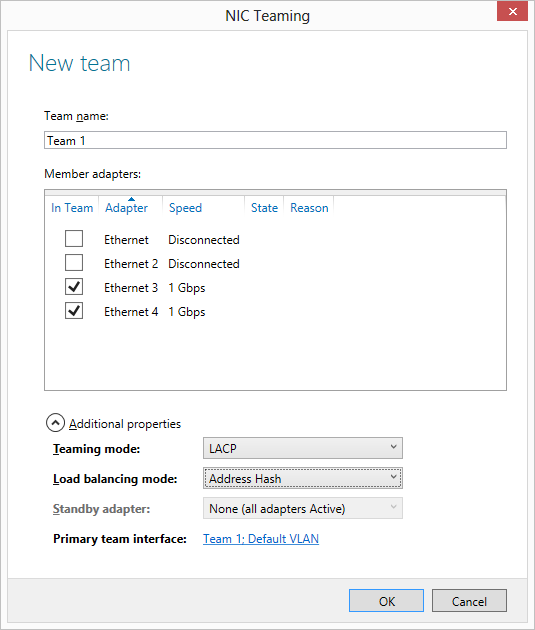
- A second NIC Teaming window will appear.
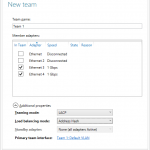
- Provide a Name for the Team.
- Select the NICs that you want to add to the Team.
- Click on the expand arrow next to Additional Properties.
- Select a Teaming Mode.
- Select a Load Balancing Mode.
- Click OK to close this window.
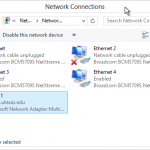
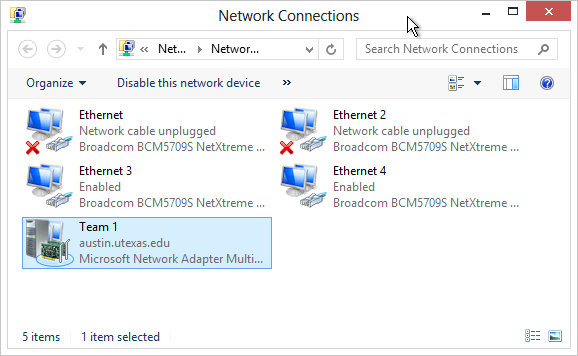
- A new Virtual/Team NIC will appear in Network Connection. configure TCP/IP for this NIC as you would any other NIC.
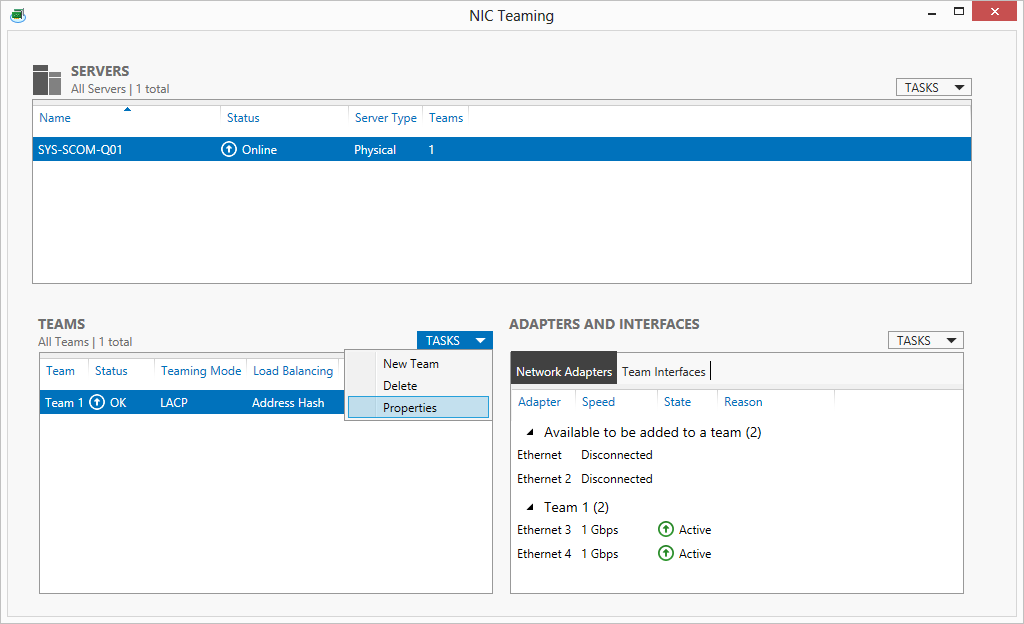
To edit the properties or delete a NIC Team, select the Team in the Teams pane and select Properties or Edit from the Tasks menu.