Pages that have Layout Builder make it easy to create content in grids and columns. Unfortunately, it’s not always an option.
If you need to left or right align images with text in a Body field, the most important thing to know is that you should always check the page layout on different sized devices. It will work best if you follow the below instructions to “clear the float” which tells the browser when content should no longer wrap around the image. As the screen gets bigger or smaller the amount of content floating will shift.
There are two ways you can align (or “float”) an image. When uploading a new image, simply follow the insert an image instructions.
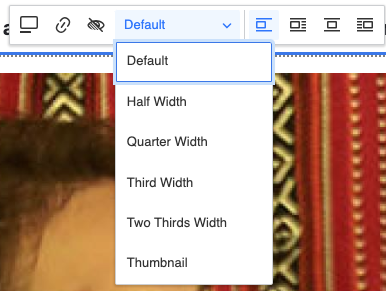
To float an image that has already been added to the page: When editing, select the image to access the options. Here you can change the display size, choose image alignment, and add alt text and a link.

Clear the Float
It’s important that you clear the float since the content will wrap differently on different sized screens.
Select the paragraphs, headings or other content that should not be aligned next to the image.
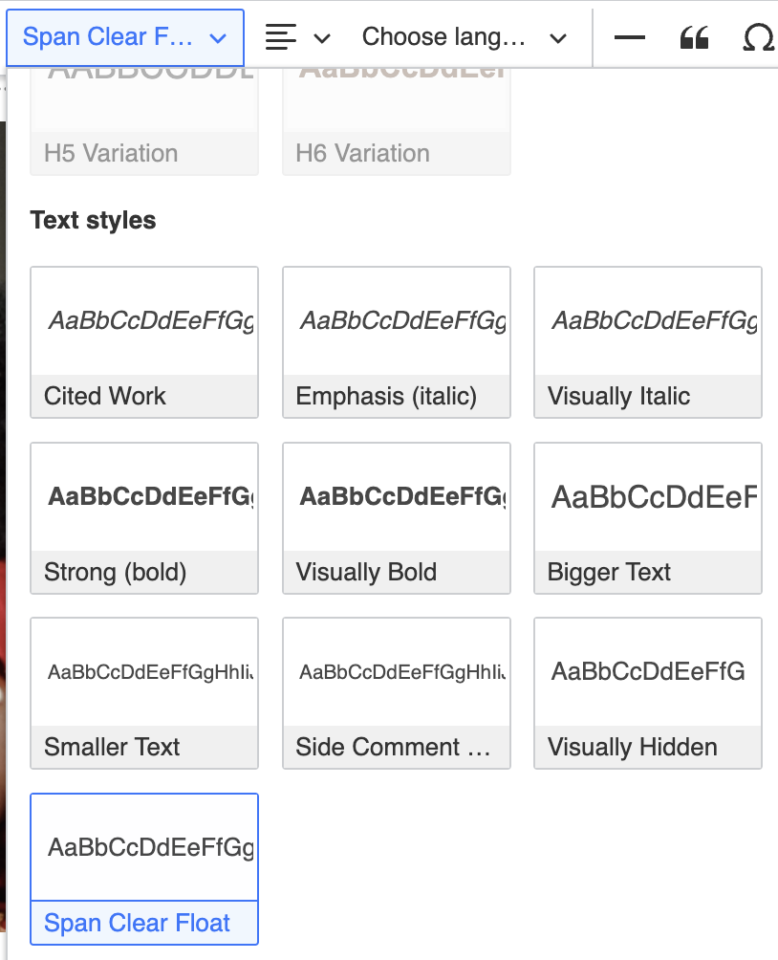
While in the normal Rich Text editor mode, select the content you no longer want to float. From the Styles drop-down select “Span Clear Float.”

Learn More
Some functions may require you to edit the source code. Check out the HTML page to learn about some times you must edit the code. Dig deeper with CSS Tricks, All About Floats article.


