On this page:
Getting Started
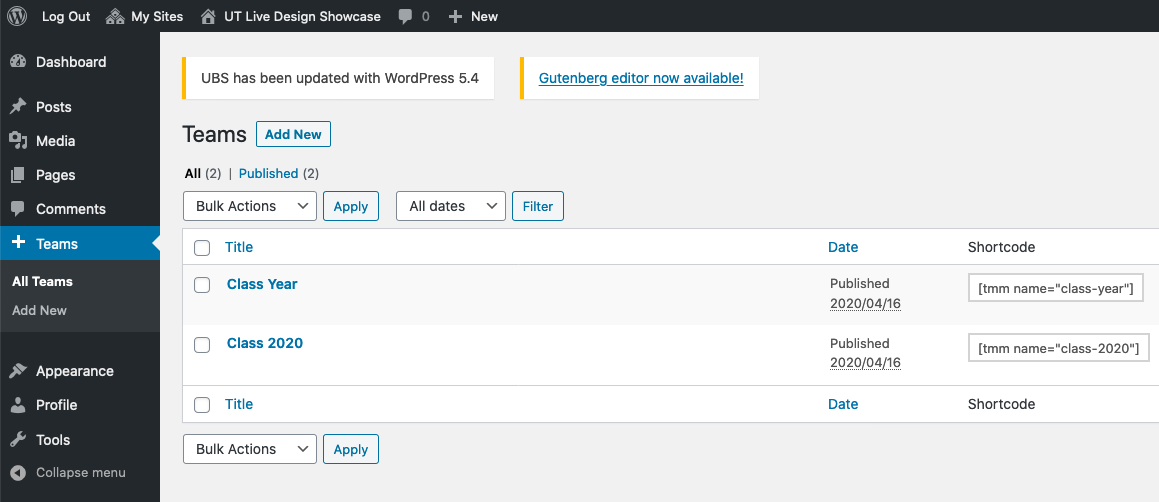
Ask the Web team to enable the Plugin for you. We will be happy to assist with the initial set up. Then you’ll see “Teams” in the administrator menu.
Teams are created separately and then embedded into pages or posts.

Adding a New Team
- Give the team an administrative title to help you organize it in the backend.
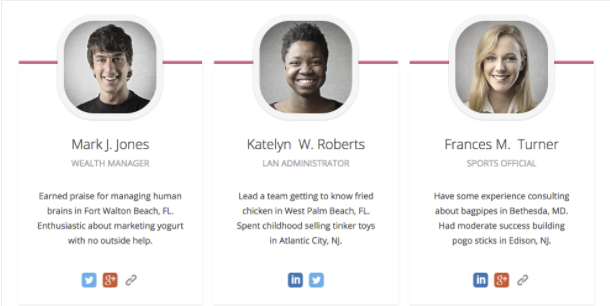
- Add Members to the Team and fill in the fields, as appropriate, for each cell of your grid.
- The only required field is “First Name” or the grid will use the title “Untitled.”
- You’ll have the option to include an image, social media links, YouTube links and more. As always, make sure your images have alternate text in the Media Library.
- Important: Due to changes made by the plugin creators, you should not make the images into links. Linking team images will cause an accessibility issue. If you want a team member’s image to be a link, see the linked image instructions below.
- Configure the Settings.
- You can have up to 5 columns by setting the Members per line. However, be aware it’s responsive, so on smaller screen sizes there will be fewer columns and the items will wrap lower on the page.
- You’ll want to set the plugin to use the fonts native to your website theme.
- Selecting a Main Color will add an accent stripe to the design. You can select white if you don’t want the stripe.
- Finally, hit Publish and you’ll be able to copy the “Short Code” which you will need to follow the instructions below under the heading “Placing the Grid on a Page.”
Creating a Linked Image
If you want the team member’s image to be a link, you’ll have to add the image to the Biography section instead of the Member’s Photo upload.
- To do this, click the Edit biography button and in the editor screen add the image from your image gallery.
- It’s best to have a square image of 200 x 200 PX. Make sure you center it in the editor.
- To add the link, click on the top of the image, then click the pencil icon to edit. In the pop-up under Display Settings > Link To > select Custom URL > add the URL to the box and click the Update button. Then click Update biography to complete.
Note: this will result in the team member’s profile looking slightly different, so for consistency you’ll want to do all your profiles the same way.
Examples
Linked image Profile
Non-linked image profile
Learn more about Pamela Z's work
Pamela Z is a composer/performer and media artist working primarily with voice, live electronics, sampled sound, and video. A pioneer of live looping, she processes her voice to create complex sonic layers.
Placing the Grid on a Page
Simply create a new page or post and paste the Short Code where you would like the grid to appear on the page.
Learn More
Details about the plugin and more information can be found on the official Plugin page.


